Micro-KIM Tutorial: A First Assembly Program
At the lowest level, the 6502 executes numerical machine code. For example, the following bytes in hexadecimal format constitute a simple program that displays a single 8 on the LED display of the Micro-KIM.
a9 ff 8d 40 17 a9 09 8d 42 17 4c 0a 02
Let's enter this program into the memory of the Micro-KIM. Power on the kit with jumper JP2 off and press the RS key. Then enter 0200 to set the address and press DA to go into data mode. Next, enter the numbers above pressing the + key after each number pair (so, enter A9 + FF + etc.). Before running, I strongly recommend checking the values. Use AD to go back into address mode. Press 0200 again and use + repeatedly to check all entered values. Once satisfied, press 0200 and GO. If all goes well, you will see a very bright 8 as first digit on the LED display (in later tutorials I will explain why).
 |
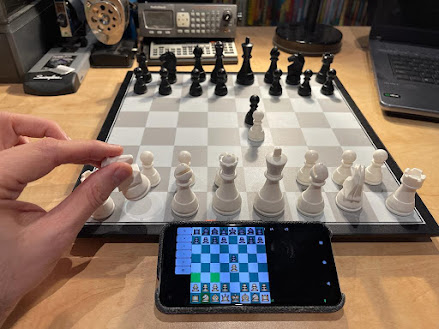
| Displaying a single digit on the Micro-KIM |
Obviously constructing and entering programs this way is tedious and error-prone. It is much easier to program in assembly language, where statements still closely relate to machine instructions, but where an assembler takes care of translating instructions and addressing modes into the numeric equivalent as well as resolving symbolic names and evaluating simple expressions into actual values. For the Micro-KIM, one typically wants to use a cross-assembler, i.e., an assembler that runs on a host computer, such as a desktop or laptop, but generates machine code for a different target computer, in this case the Micro-KIM.
While reliving the good old days of my Commodore 64, I implemented a cross-assembler that runs on Windows (win2c64), Linux (lin2c64) and MacOS (mac2c64) and generates machine code for a 65xx-based microcomputer. This assembler supports several common output formats, including the paper tape format that can be directly uploaded to the Micro-KIM. Therefore, in this series, I will use win2c64 for assembly.
The assembly code for the program above looks as follows (note, if you are a bit rusty on the 6502, I recommend reading some online documentation on the instruction set first; more details on the assembler syntax and operation of win2c64 can be found in the online manual; details on the program itself will follow in later tutorials).
sad .equ $1740
sbd .equ $1742
sbd .equ $1742
.org $0200 ; start program at $0200
lda #$ff
sta sad ; set all bits of A data
lda #9
sta sbd ; set value 9 in B data
loop jmp loop ; loop forever to avoid
; returning to monitor program
; returning to monitor program
To invoke the assembler and generate paper tape format, save this code in a source file, kim.s, and then run the following from the command line.
win2c64 -P kim.s
This generates an output file kim.ptf in textual paper tape format (there is also a binary variant, but that one is less useful for uploading over TTY). The contents of this file are shown below. These can be copied-and-pasted to the Micro-KIM through the terminal, as explained in the first tutorial. Much more convenient then entering a long list of numbers!
;0D0200A9FF8D4017A9098D42174C0A02048B
;0000010001
The win2c64 binary can also be used as disassembler on the generated output as follows.
win2c64 -dP kim.ptf
Which shows the addresses, numeric encoding and instructions as follows (note how the assembler has resolved and removed all the symbolic information and comments from the original source file).
$0200 a9 ff lda #$ff
$0202 8d 40 17 sta $1740
$0205 a9 09 lda #$09
$0207 8d 42 17 sta $1742
$020a 4c 0a 02 jmp $020a
$0200 a9 ff lda #$ff
$0202 8d 40 17 sta $1740
$0205 a9 09 lda #$09
$0207 8d 42 17 sta $1742
$020a 4c 0a 02 jmp $020a
Just looking at the encoding, you may recognize the numbers you entered manually at the start of this tutorial.
Now that you have become more familiar with the tools, you are ready for the next tutorial, where I will explore using routines from the monitor program to show more numbers on the LED display in your assembly program. After that, I will explore taking full control of the LED display!
As before, if you like this series, please let me know by liking or sharing this posting, or leave a comment.

Comments